
Discover the various options available for scheduling a session in ClassView.
Schedule a ClassView Session
Plan your sessions ahead of time and automate the process to ensure your ClassView sessions start and end at your preferred times.
Customise your session and invite
- To schedule a ClassView session, simply click on the Schedule button located at the top right corner of your Home page.
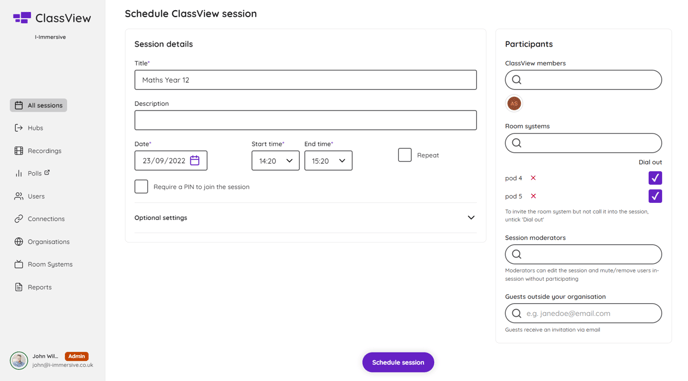
- After selecting the Schedule button, you can customise your invite by adding details such as the session title, a description or note for participants, the preferred date, start and end times. These details will appear in the invitee's calendar and email invitation.
- After customising your session details, you can invite guests from outside your organization, ClassView members on your account, and any ClassView Pods/Immersive Classrooms to join the session.
-
- Guests Outside your Organisation Invite anyone you wish to join your ClassView Session by simply entering their email address. Guests will receive an invitation via email to participate in the session.
- ClassView Members Invite ClassView Members who you would like to participate in the scheduled session by entering their name. The system will automatically populate the user in the field, then select the ClassView Member to send the invitation.
- Session Moderators Session Moderators have the authority to oversee the meeting, including calling registered room systems into the session, inviting new guests, and moderating participants in real-time during the session. Moderators have the ability to mute the audio and cameras of either individual participants or all participants in the session.
- Room Systems, ClassView Pods Invite users and guests to take part in your ClassView session: Include registered Room Systems or ClassView Pods in the session, which will be automatically connected when the session begins. If you prefer to dial in manually, uncheck the Auto dial out option.
Optional Settings
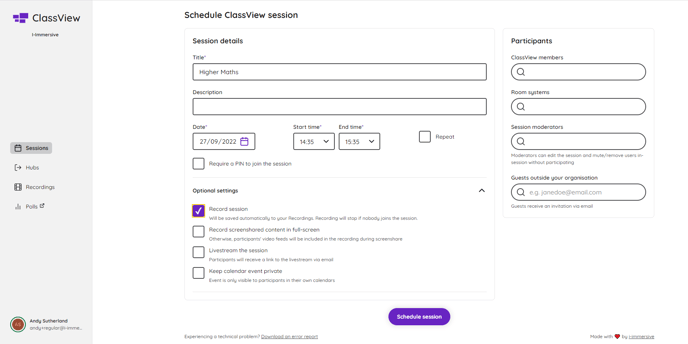
Access the Optional Settings by clicking on the tab when scheduling a ClassView session. Set up extra security for your session or set your session to repeat throughout the year.
-
Set up a repeating session: Choose the frequency of your session by selecting 'Repeat'. You can set it to occur daily, weekly, or monthly, specify the end date for the recurring sessions, and decide how many times you want the session to repeat.
-
Keep calendar event private: This option ensures that the calendar invitation is kept private, preventing other members of your organisation from viewing the session details when accessing shared calendars.
-
Add an extra layer of security to your session: by requiring a PIN for participants to join. A four-digit PIN will be included in the invitation email, and participants must enter it before gaining access to the session.
-
Enable recording for the session: By selecting this option, you can record both audio and video during your meeting.
If no participants join the session within 1 minute after the scheduled meeting time, the recording will automatically stop. To prevent this, make sure all invited users attend the session on time. Alternatively, you can choose not to start recording when scheduling the session and enable it once the session has begun.
-
Choose to record the entire screen: Select the Record option to capture the full screen content during the session. Participant video tiles will not be included in the recording.
- Once you're finished, click on "Schedule Session." This will send out email invitations to all participants, and the meeting will be added to their calendars automatically.
Contact support
Contact our dedicated and experienced support team for any ClassView related support enquiries.
Call support: 0330 053 1700
Email: support@classview.com